Unleashing Potential: Yoga and the Third Eye Chakra

The Third Eye Chakra, known as 'Ajna' in Sanskrit, is a powerful energy center located between your eyebrows. It's often referred to as the gate that leads to our inner realms and spaces of higher consciousness. In yoga, the Third Eye Chakra is seen as a spiritual guide that paves the path toward clarity, intuition, and self-awareness.

Signs of an imbalanced Third Eye Chakra

  1. Lack of clarity and focus

  2. difficulty making decisions

  3. Felling disconnected from intuition or inner guidance

  4. Over-reliance on logic and rationality

  5. Frequent headaches or eye strain

Yoga Postures to Strengthen and Unblock the Third Eye Chakra

Yoga is not just about fitness; it's a pathway to self-discovery. Certain yoga postures can help awaken and balance your Third Eye Chakra and promote balance and inner peace. Here are a few poses to incorporate into your practice

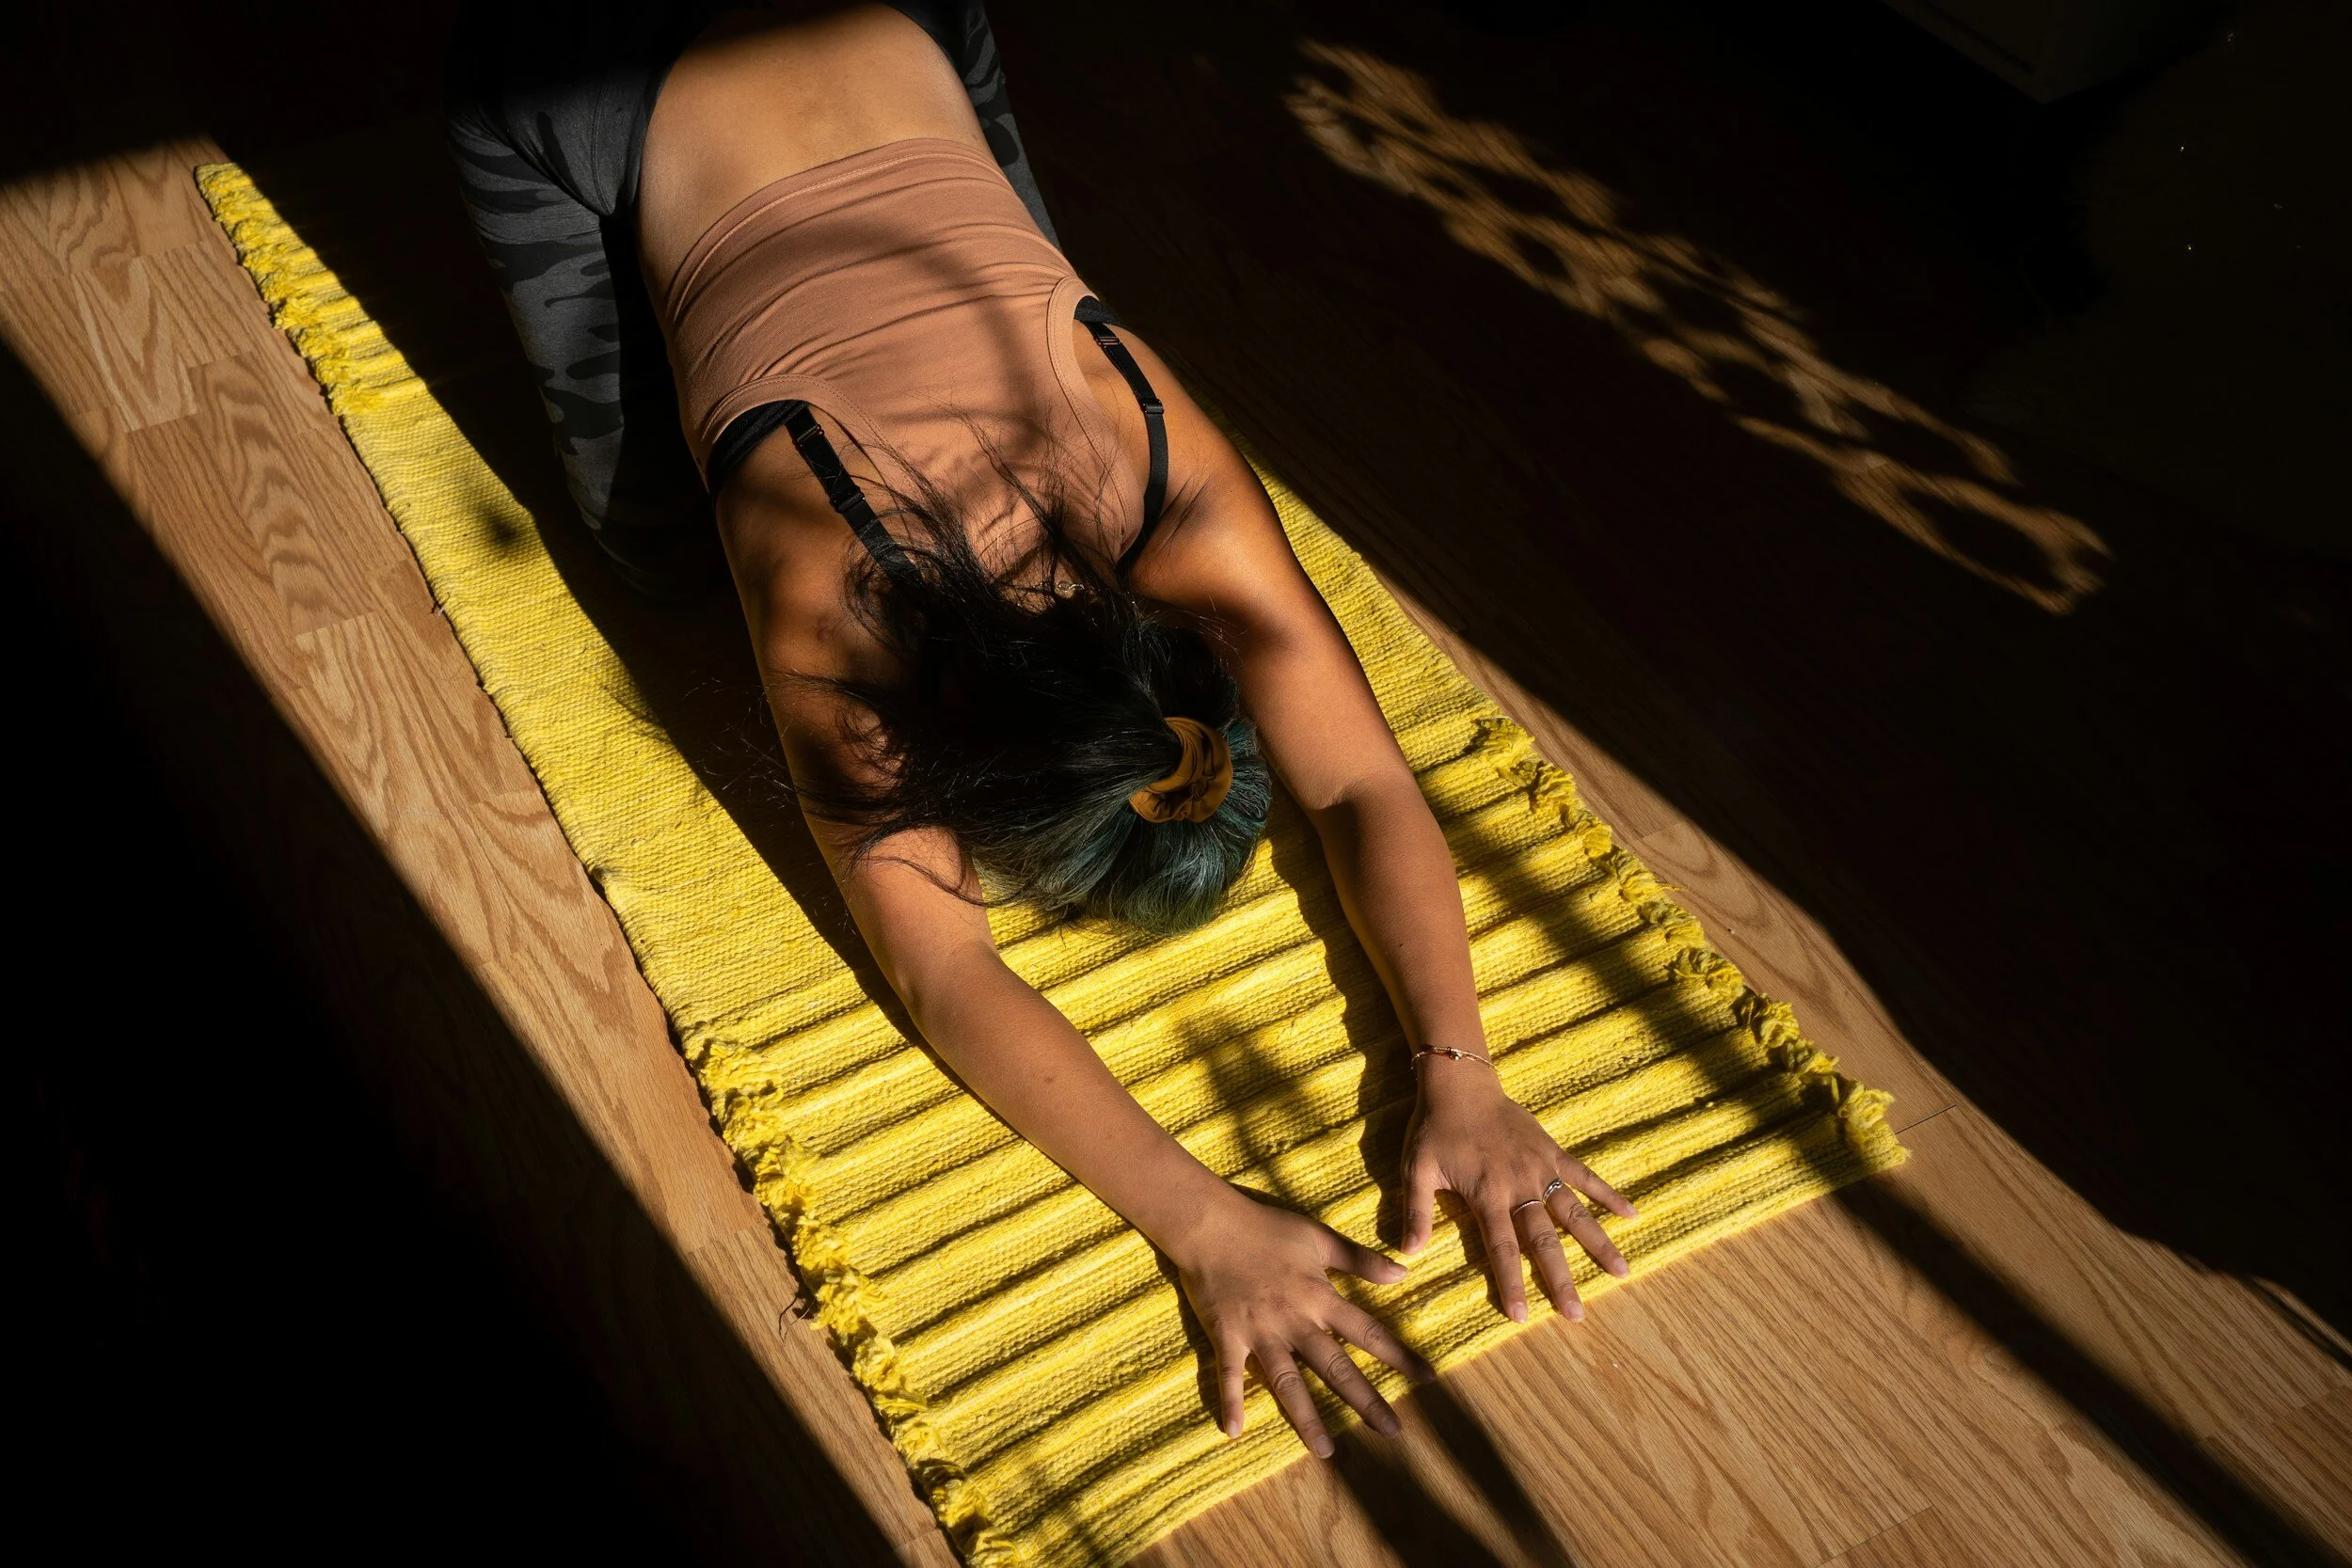
  • 'Child's Pose' (Balasana): Begin by kneeling on your mat and bring your big toes to touch. Sit back towards your heels and fold forward, bringing your forehead down to the mat, block, pillow, or bolster. You can rest your arms alongside your body or extend them forward. Focus on surrendering and connecting with your inner self.

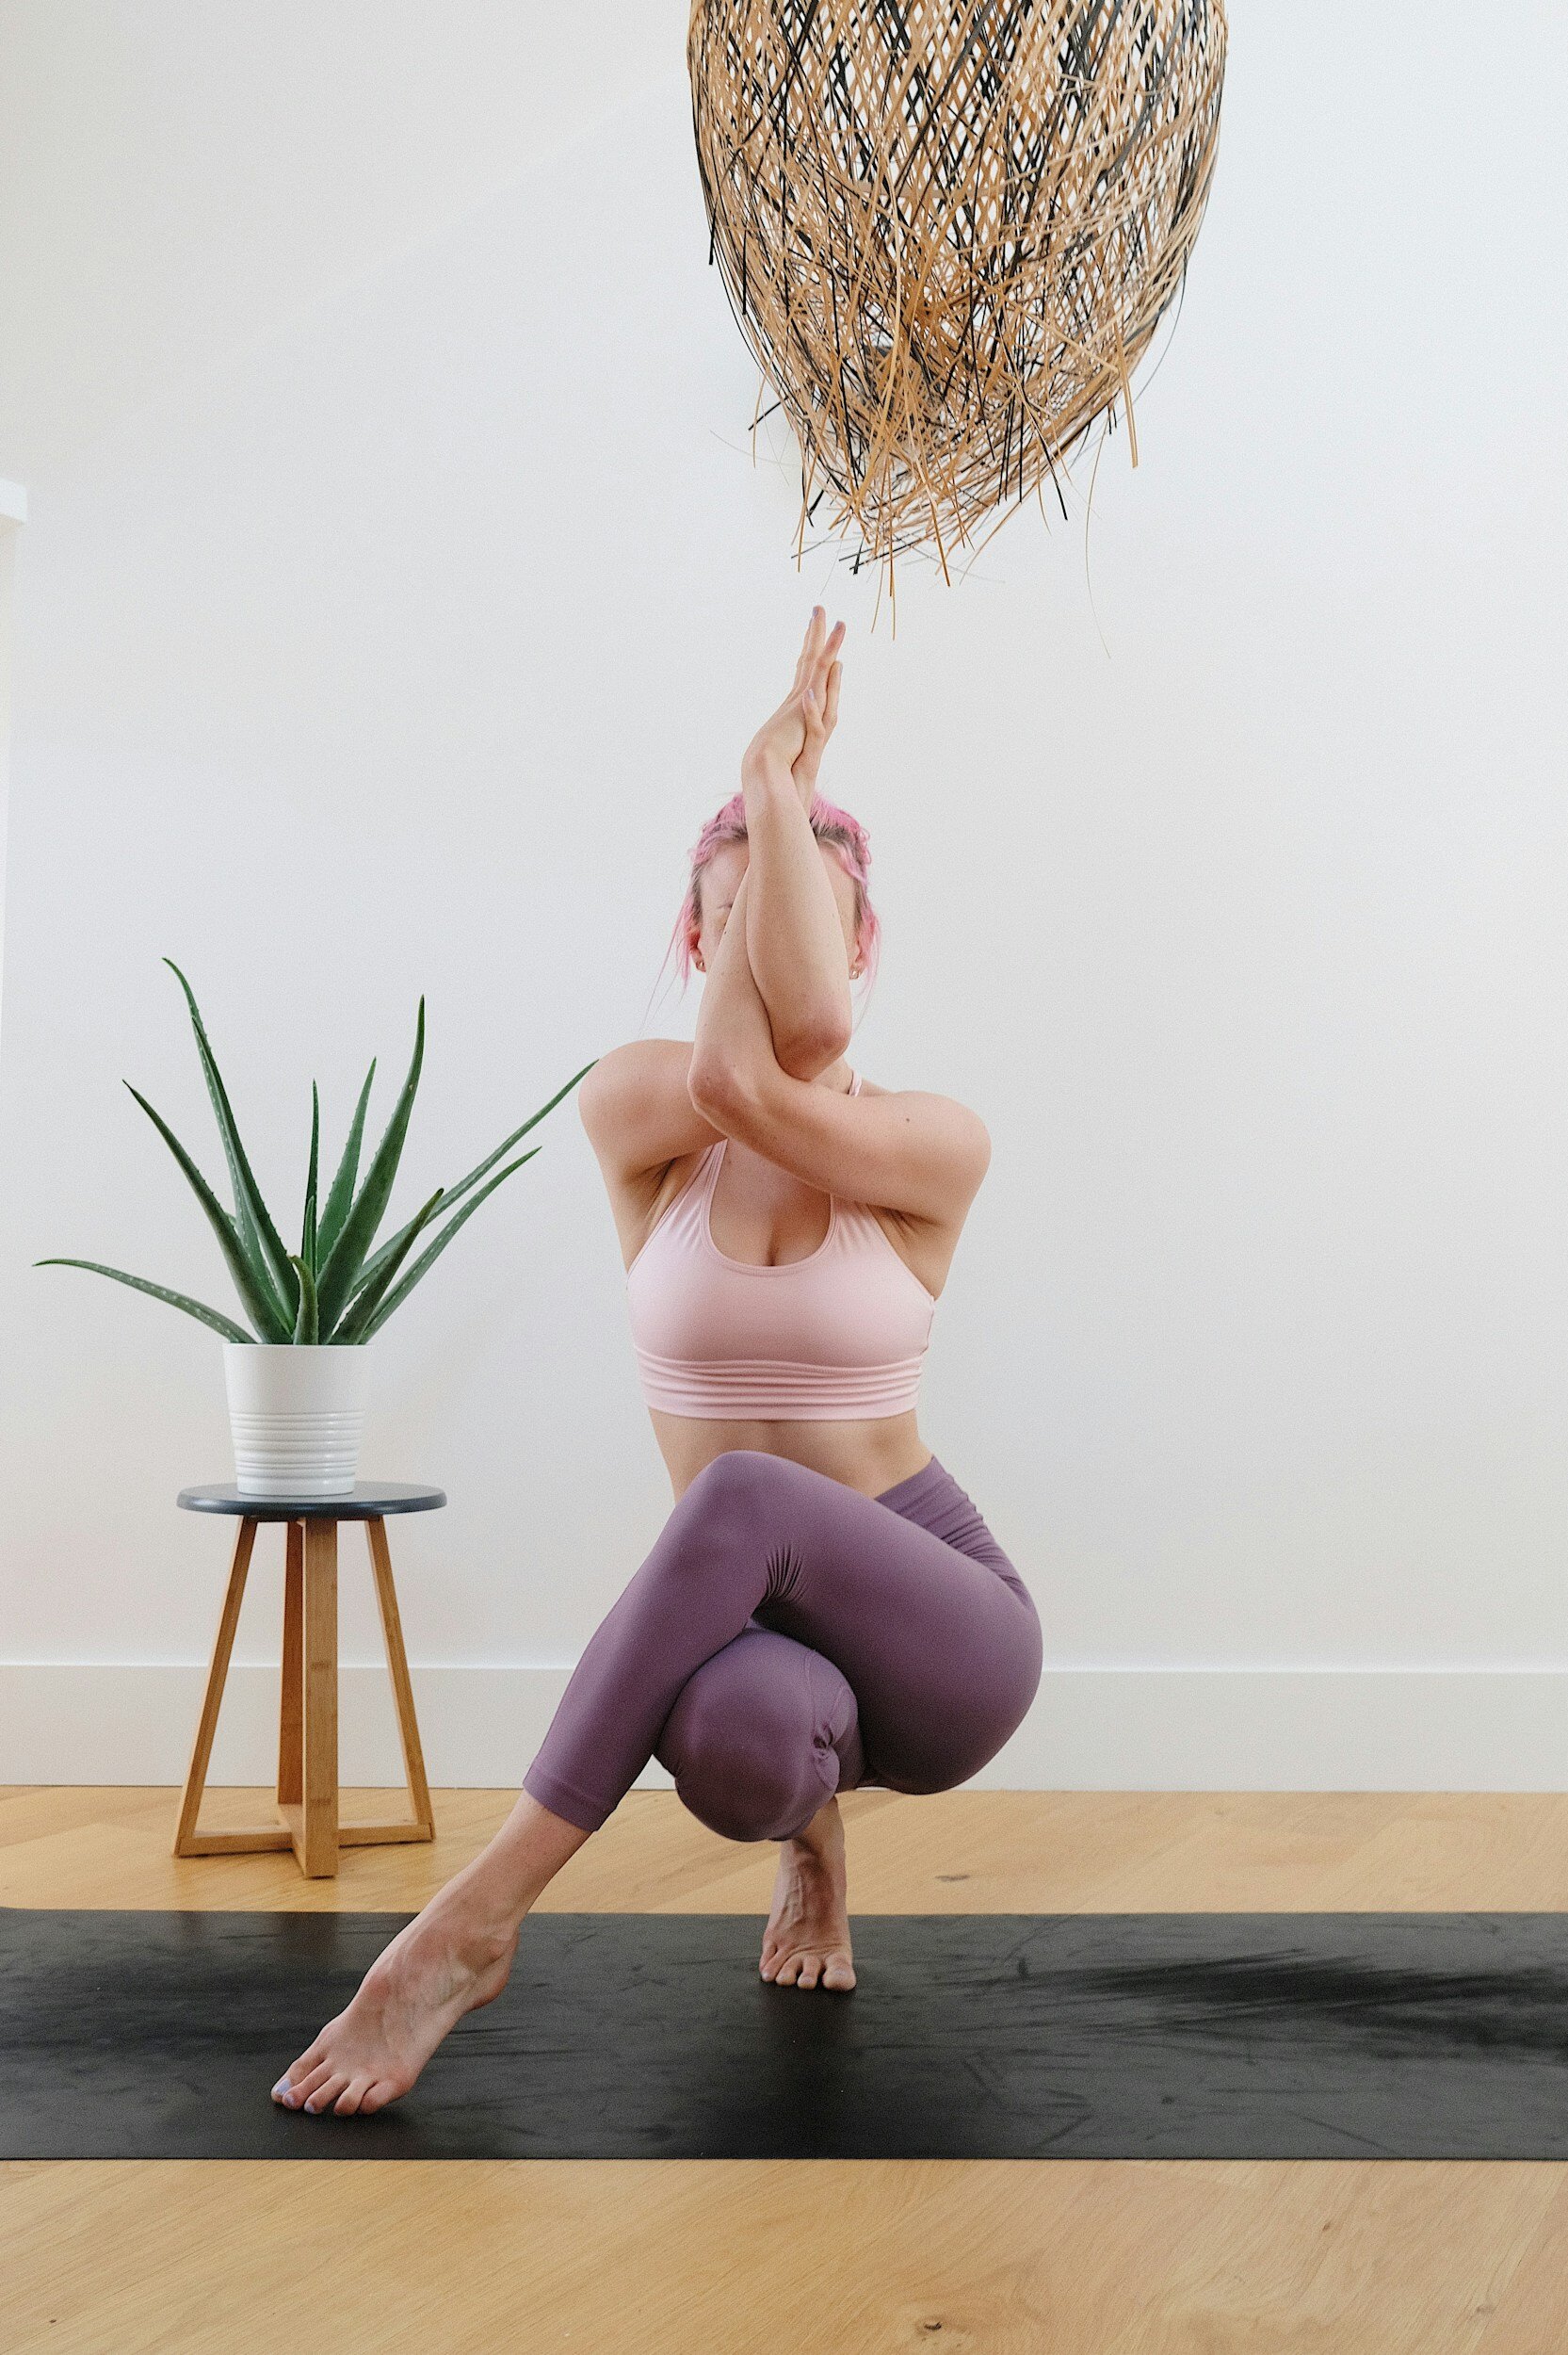
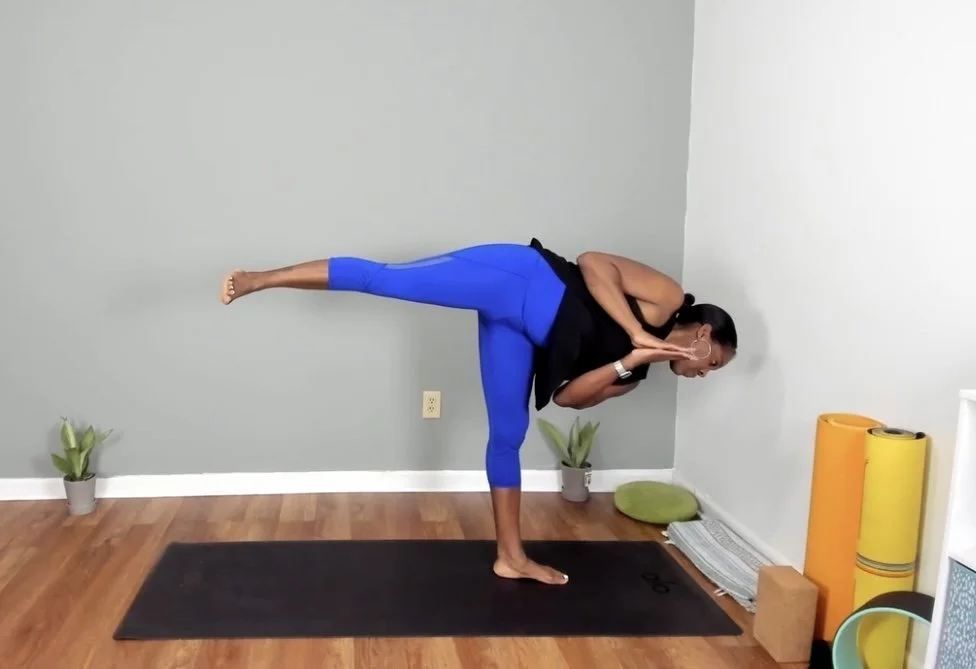
  • 'Eagle Pose' (Garudasana): Stand tall and cross your right leg over your left thigh. Your right foot can land on the floor, a block, next to the left calf, or maybe the foo can hook behind the left calf muscle. Extend your arms forward, cross your right arm under your left, and bring the palms of the hands together. Focus your gaze on a single point, stimulating the third eye chakra.


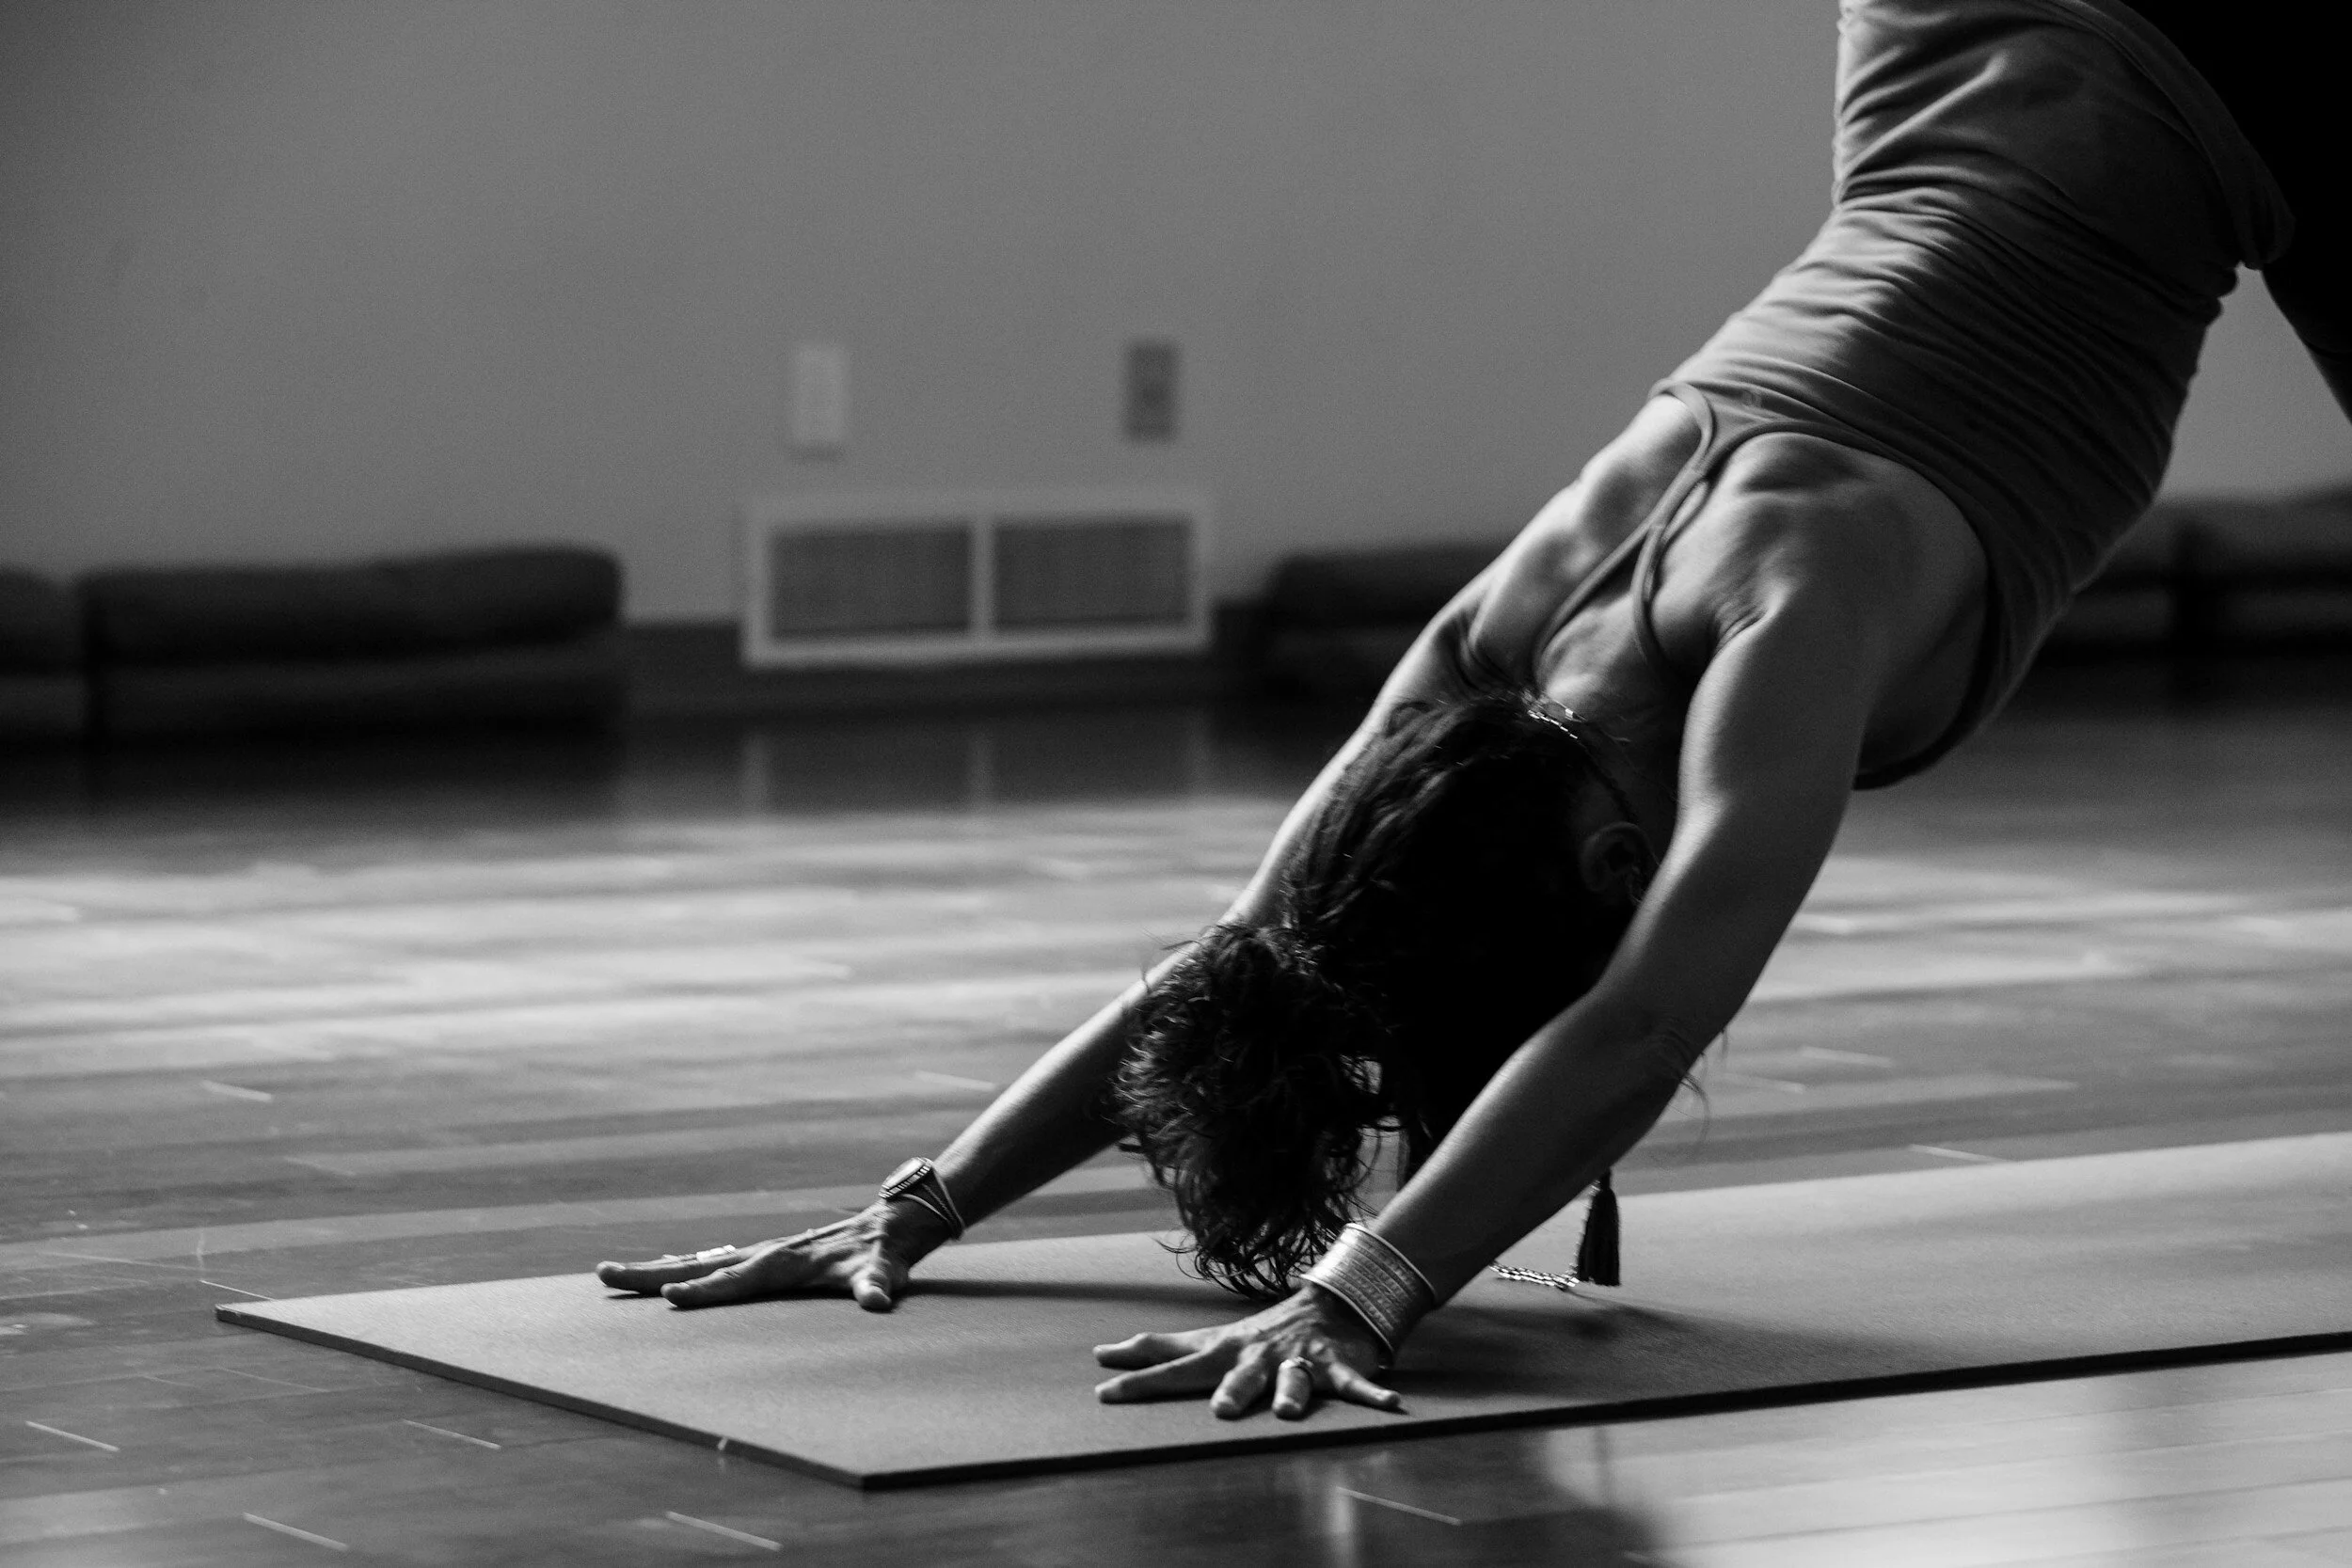
  • Downward-Facing Dog' (Adho Mukha Svanasana): Start on your hands and knees, then lift your hips up and back, straightening the legs (do not need to be completely straight). Press your palms into the mat and lengthen your spine. Allow your head to hang freely, encouraging blood flow to that third eye area.

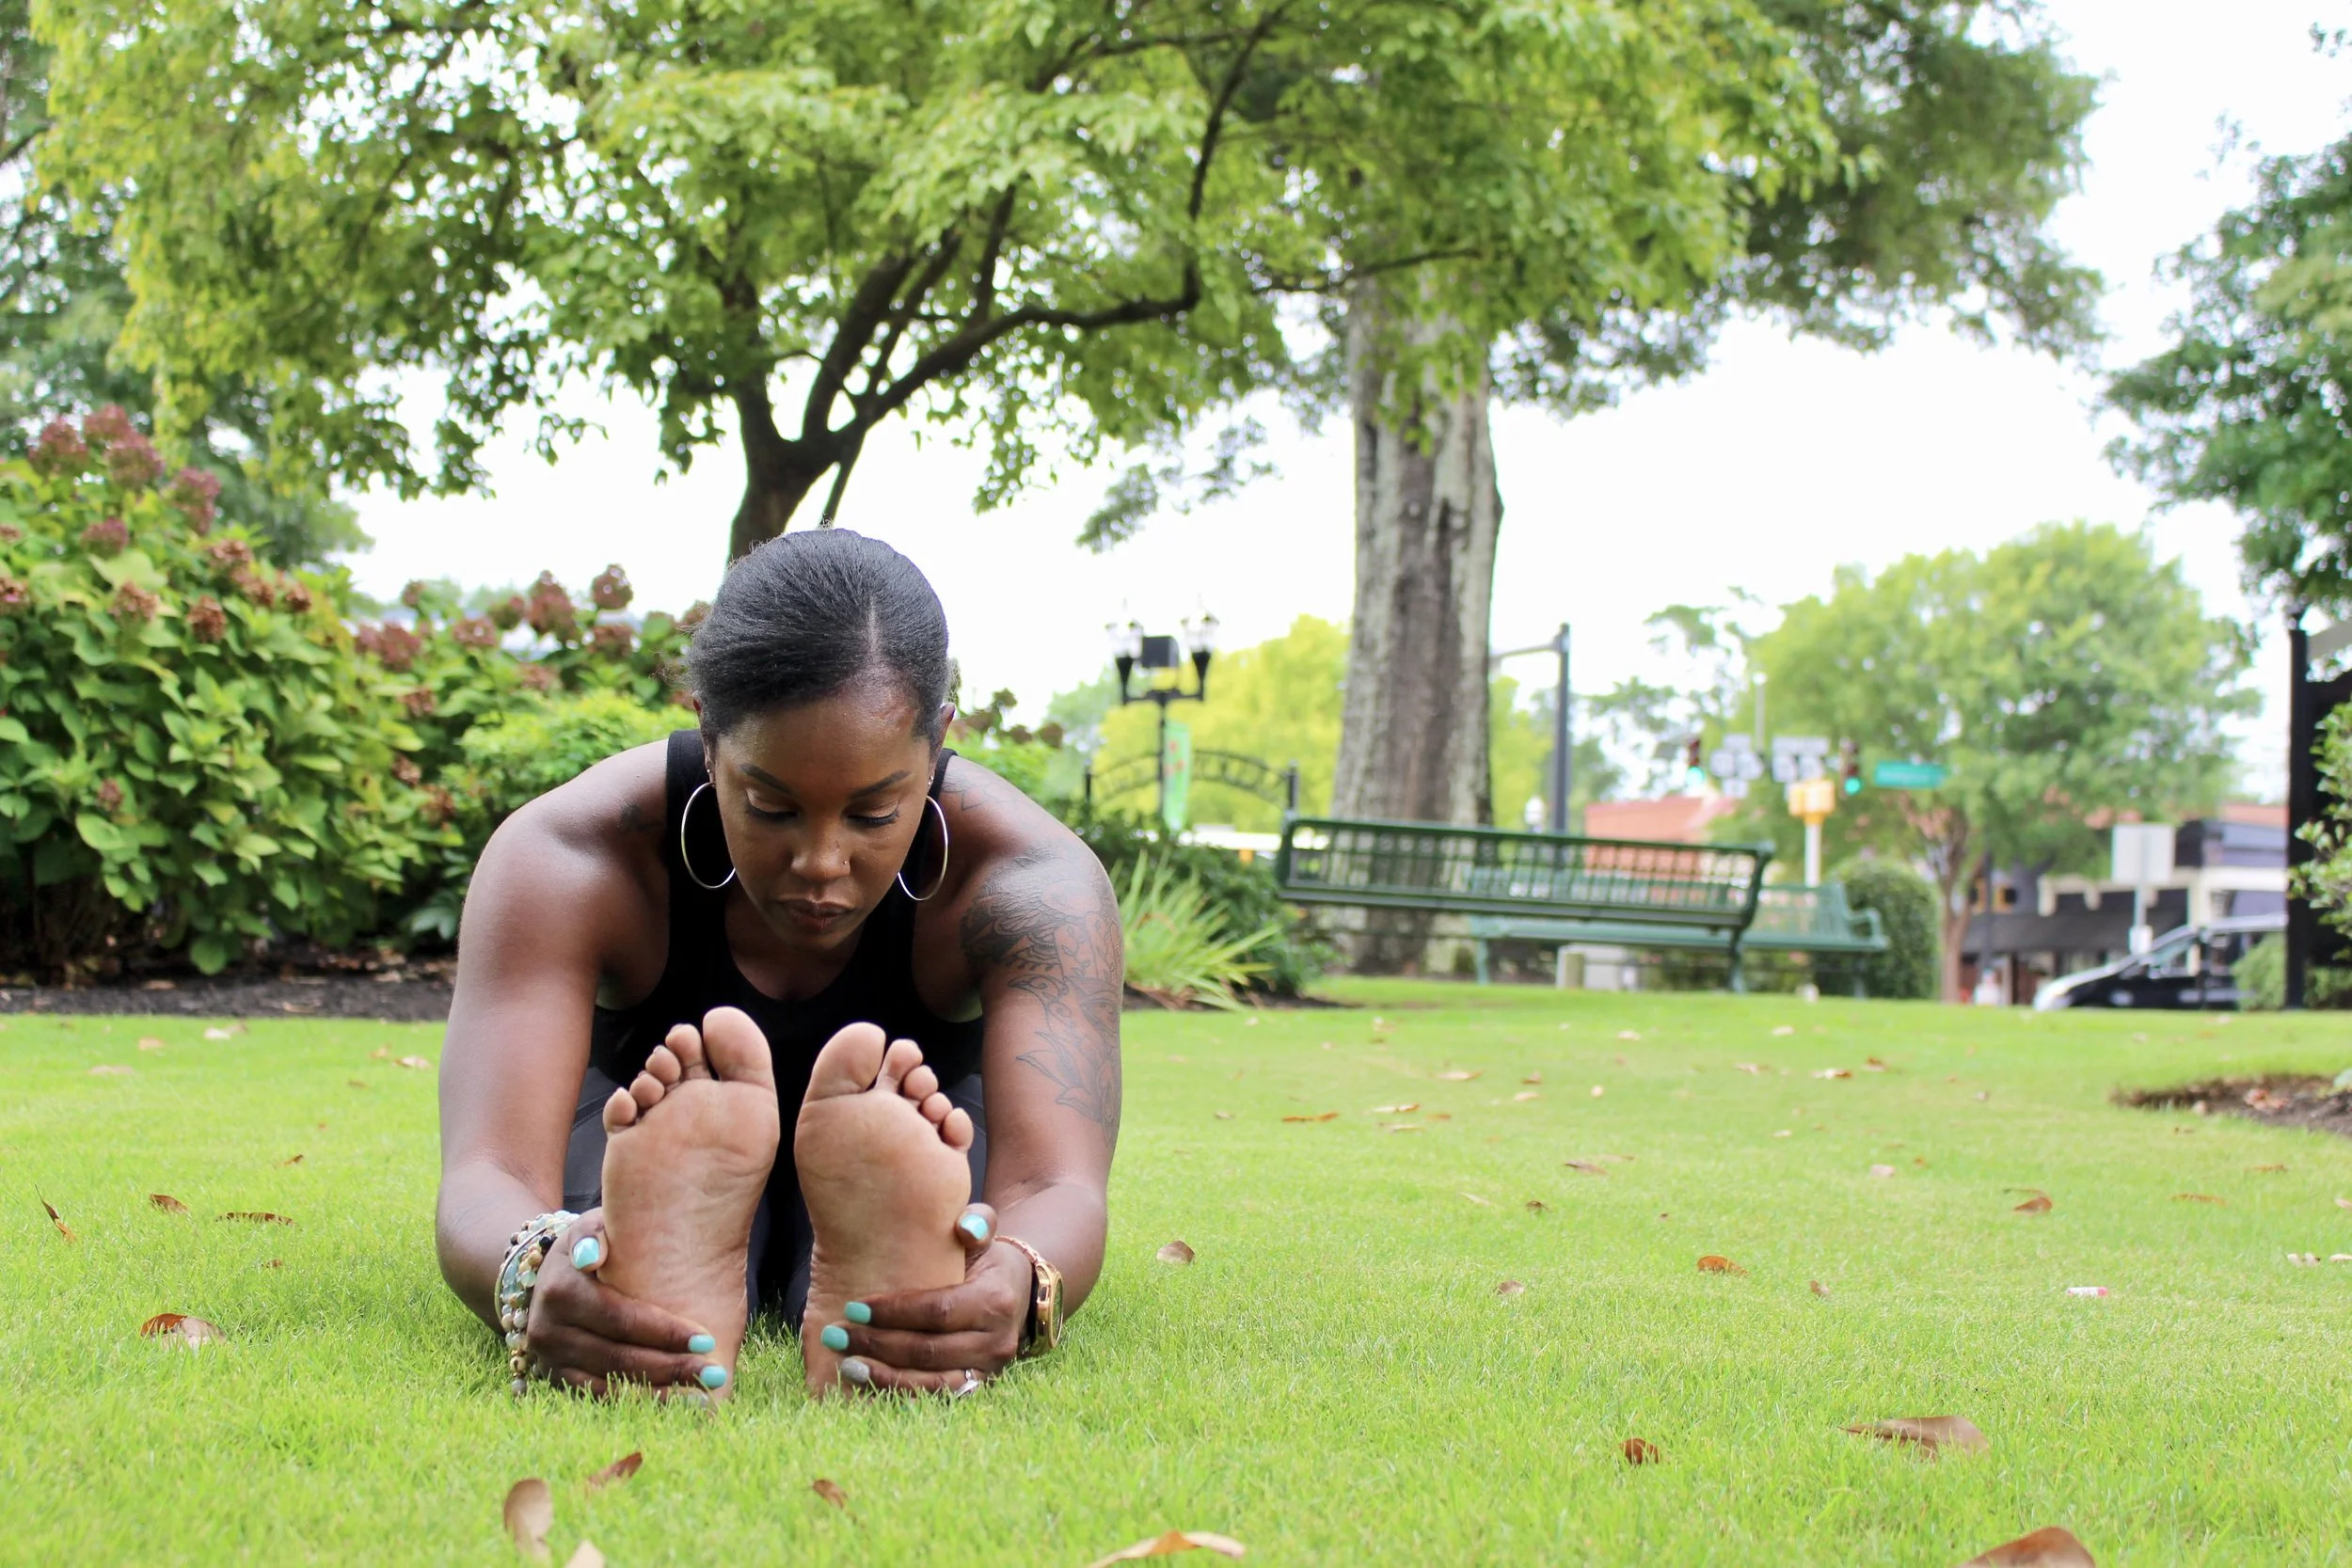
  • Seated Forward Fold (Pachimottanasana): Sit on the mat with legs extended out in front of you with a gentle bend in the knees. You can use a strap around the ball of the feet or crawl the finger down the sides of the legs reaching toward your ankles or feet. Relax your head and neck, allowing the energy to flow through the third eye.

Other practices to strengthen the Third Eye Chakra

  • Meditation: Set aside some time in a quiet space to quiet the mind and focus on your breath. Visualize a vibrant indigo light at the center of your forehead, allowing it to expand and fill your entire body

  • Pranayama: Practicing alternate nostril breathing (Nadi Shodhana) helps to balance the energy flow of the body

  • Affirmation: Repeat positive affirmations related to intuition and inner wisdom. For example: “ I trust my intuition. I am connected to my higher self.”

Remember that cultivating intuition is a gradual process. With consistent practice and an open heart, you can awaken the dormant powers within. Embrace the magic of the third eye chakra and allow it to guide you on a path of self-discovery and spiritual growth.

To The Moon and Back - How to Practice Half Moon Pose

Half moon pose is a standing yoga posture that challenges both the body and mind to find balance. This posture helps to strengthen the standing leg and ankles, as well at the very important glute muscles of the extended leg. Let’s get to know this fun pose a little bit more.

The common name for the posture is Half Moon Pose, and the Sanskrit name is Ardha Chandrasana. First, we will break down the sanskrit meaning of the Pose:

Ardha: Half

Chandra: Moon

Asana: Posture

Ardha Chandrasana - Half Moon

Risks/ Contradiction

  • Knee Injuries/ Knee instability

  • Shoulder injuries

  • Plantar fasciitis, sprained ankle, or other knee injuries

Step-by-step

  1. Take a wide leg stance facing the long edge of the mat.

  2. Bend the right knee stacking the knee above the right ankle; Pivot the left foot so that it is somewhat parallel to the back edge of the mat

  3. Extend the arms out to the side at shoulder height; relax the shoulders away from the ears; Gaze over the right middle finger (Warrior 2)

  4. Begin straightening the right leg without locking into the knee; extend the right arm forward, keeping both sides of the waist long.

  5. Release the right hand down to land on the front shin, a block, or fingertips to the floor. The left arm reaches to the sky; opening up the chest and torso towards the left side of the mat (Triangle Pose)

  6. Bring the left hand to rest on the top hip. Bend the right knee and bring the front hand forward and to the right of the right foot, either using the block or fingertips to the mat

  7. Walk the back foot forward until you can shift the weight to the right leg

  8. Slowly lift the back leg; keeping the left foot facing the left side of the mat and hips stacking on top of each other

  9. Choose where you would like to gaze. You can gaze toward the floor, to the side, or up. Optional: extending the left arm up to the sky or playing with any other variations

  10. Gently bring a bend to the front knee lowering the back leg back down to the mat. Coming back into triangle pose and warrior 2, Repeat on the other side.

Things to watch out for

  • Keep the front foot facing forward

  • Do not lock into the standing knee

  • Keep the top hip (externally rotated)stacked on top of the bottom hip

  • If there is any tension keep the gaze down towards the mat

variations

  • Reclined Hand to Big Toe

  • Supported Plank Variation

  • Using the wall behind you and maybe pressing the back heel into the wall

  • Use a block under supporting hand

  • Fingertips of the supporting hand on the floor

  • Floating the supported hand off of the block or mat

  • Bending the top knee and reaching the top hand back to catch the ankle or foot (Chapasana)

Below you will see some images of just a few of the variations of Half Moon

7 Steps to Improved Balance

Balance is not something you find; it is something you create -Jana Kingsford


We’ve all heard of work-life balance, and for many of us, we are still working to find that balance. Here’s the thing….we keep waiting for something outside of ourselves to make this balance happen magically. We feel like we don’t have control, but we have to power/ability to CREATE the balance we are looking for in our lives.  We can begin to set boundaries by saying “no” to working late. We can leave our work at the “office.”  We can say yea to those activities you’ve wanted to try but have been putting off. 


Now let’s translate this thought process onto our mats. Finding balance in our body is not only crucial for our physical but also our mental as well. 


Yoga balance postures help strengthen and lengthen muscles needed not only for balance in sport but also for everyday activities such as walking up and downstairs. These balancing postures also help to enhance the body’s equilibrium receptors located on the inner ear. 


Mental benefits include improved focus and can help reduce stress. Being able to remain calm and balanced in these balance postures can help you find calm in situations off the mat.


Now let's get to the good stuff:


7 Tips to improve balance 

  1. Start from the bottom

    Your roots or contact points on the floor are key to feeling safe and steady in balance postures. Ensure that the feet, hands, forearms, etc., are correctly aligned and rooted into the ground. In standing balance postures, you can widen your base by separating to feet to feel more stable.

  2. Fix your gaze

    In balance poses, it always helps to look at a non-moving point to steady the body and mind. In yoga, we call your focal point Drishti.  If the eyes are moving back and forth, the body will likely shift as well.

  3. Bring awareness to your core

    Bringing attention to the core will also help to stabilize the body. In most balance postures, you want to draw your energy into the body’s midline (center).

  4. Get some support

    I am a lover of using all the props in my yoga practice. Balance poses are a great time to use props. My favorite support is (Paul) wall. You could also use a chair, table countertop, etc. Get creative with it.

  5. Be patient

    You won’t have ballerina-level balance immediately. Like most things, balance takes time to improve. You will probably weeble, wobble, or even fall out of the pose a few times. I have a rule in my classes: If you fall out of a pose, you have to smile, laugh, and try again.

  6. Breathe

    You won’t have ballerina-level balance immediately. Like most things, balance takes time to improve. You will probably weeble, wobble, or even fall out of the pose a few times. I have a rule in my classes: If you fall out of a pose, you have to smile, laugh, and try again.

  7. Chill Out

    Last but not least, Stay Calm. Try to find that steadiness of the breath and the mind. Don’t take the poses so seriously and enjoy the journey of creating balance.


Here is a quick video showing a few beginner and more advanced balance postures. Make sure to try the poses on both sides. I only demoed each pose on one leg. Also, remember to use some support if you need to. And as always, honor your body.


Everyone Could Use a Time-out

I used to always be on the go. My calendar was jammed pack. Even on the days when I didn't have anything scheduled, I found a way to fill my days up with ‘stuff’. Ya know, checking emails, chatting on the phone, running countless errands..that kinda ‘stuff’. 

I never wanted to just sit down and relax because I felt like I was being lazy.

Years of that ‘on-the-go’ lifestyle eventually took a toll on me physically and mentally. It took me a while but after finding out that I had hypothyroidism, I finally realized the importance of slowing down and taking the time to replenish myself.

You may be thinking, "I don't have time." To be honest, that's the exact same excuse I used to use. I know what it's like to avoid creating the time or space for myself, which is why I created this FREE 10-min Slow Flow to help you let go and unwind. All you need is a few minutes a day to begin working towards a stress-free lifestyle.


So if you're ready to De-Stress and add a little more self-care into your life download your FREE video today.